Hit enter to search or ESC to close
Altus Window Systems Smartfit® improves on a number of key aspects of traditional windows. That includes making all installations more weathertight and reducing the complexity and risk in the installation process. The system does so by moving the weatherline and air seal around all windows to the wall underlay line.
The following guide will help you understand the ins and outs of installing Smartfit® windows.
Superior Weathertightness
In a climate like New Zealand's, the ability to keep high winds, cold air and moisture out of a building is a must, and Smartfit® windows provide you with more certainty in this area than other models. The Smartfit® system is designed so that the window opening weatherline and air seal are on the face of the wall underlay, rather than extending inwards to behind the wall lining. As such, if the window fails in any way, water drops into the cavity. An additional patented dry block is also in place in the event that the frame joint fails as well.
Other features help ensure there is reduced reliance on sealants to keep water and wind out, and that any collected water is directed to the sill, where it will exit harmlessly via drip features in the sill support.

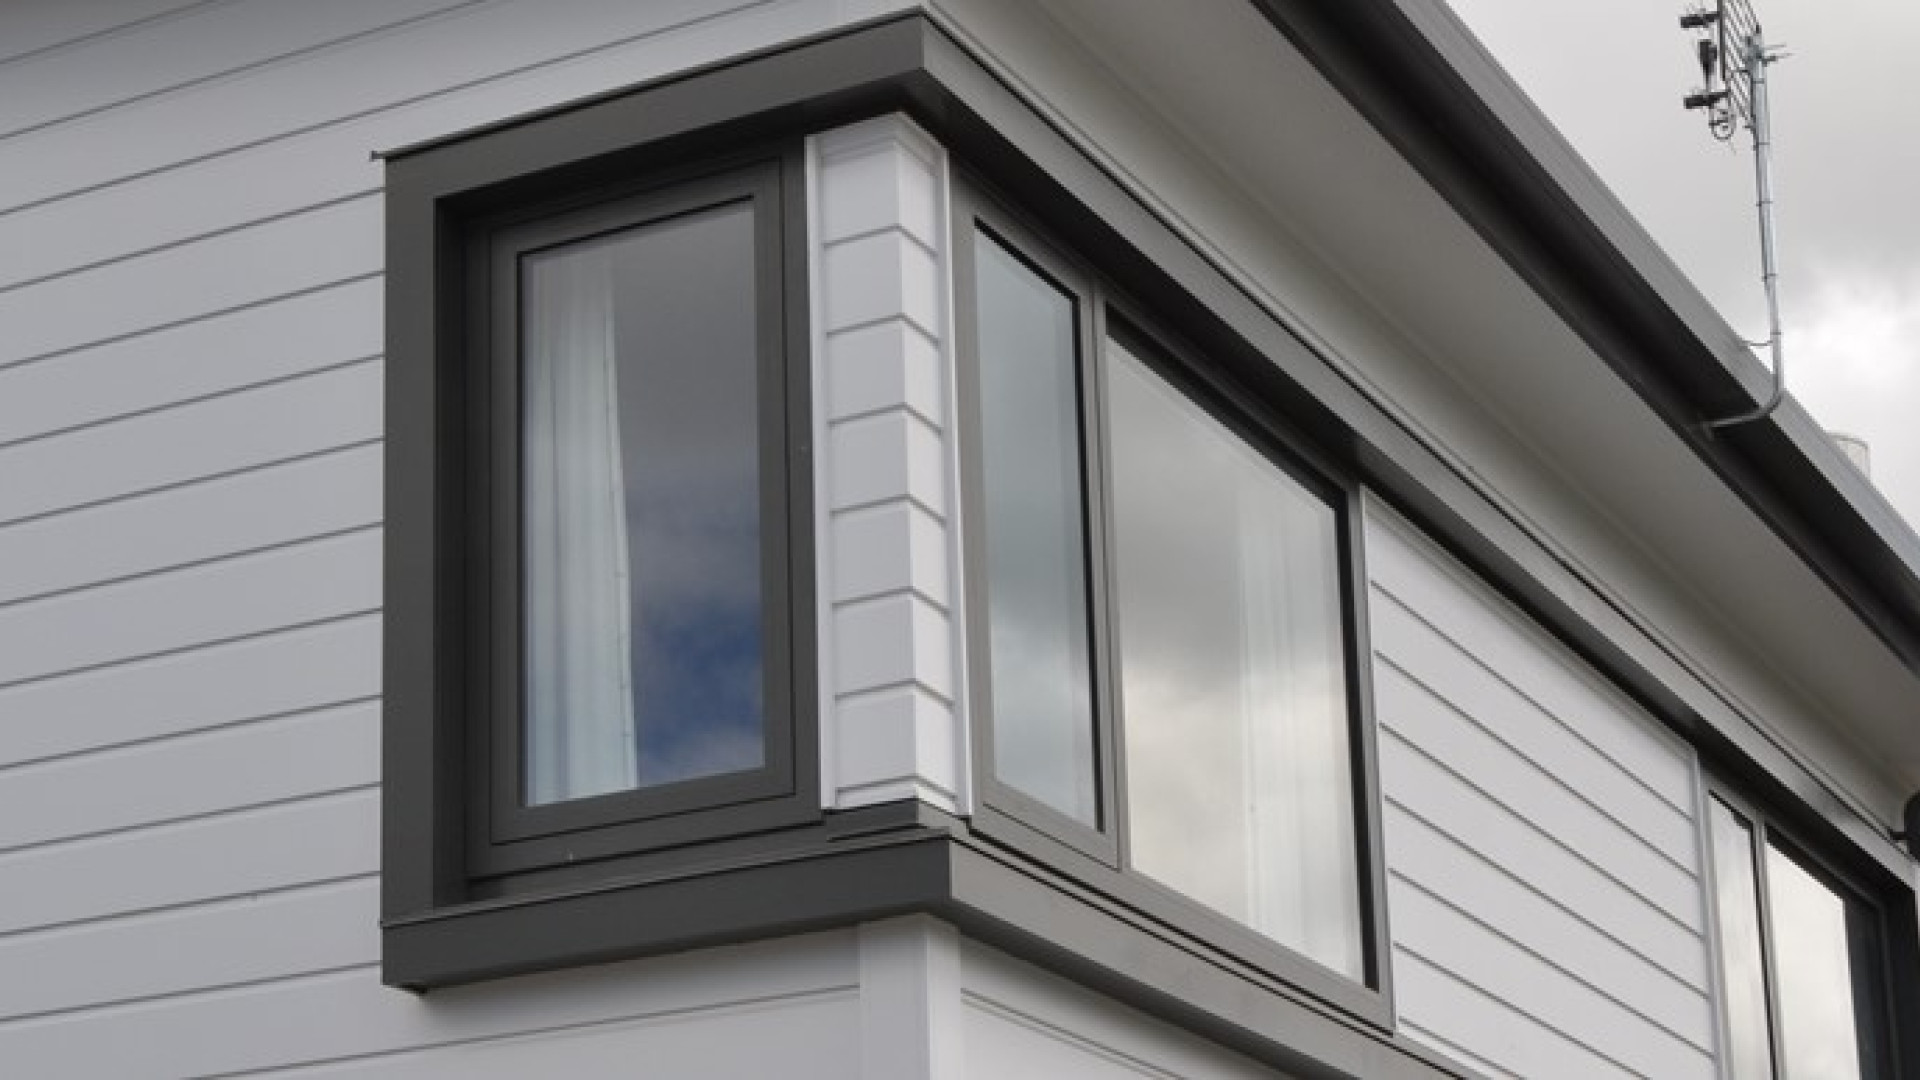
Altus Window Systems Smartfit® windows provide extra protection from the weather.
Easy Installation
The Smartfit® installation system is ideal for light timber framed construction. It is designed to suit cavity cladding systems - including everything from stucco to fibre cement, and brick, horizontal rusticated weatherboards to plywood. All windows will be delivered ready for installation thanks to pre-assembly that includes head and jamb flashings, as well as a sill support bar. There are no loose parts that will require additional installation at the build site.
All installers will have to do is lift the window into the opening and affix it using the simple steps below.
Smartfit® window and doors increase productivity and minimise the need for additional materials. An Altus Smartfit® window installation takes less time than other models because you no longer need internal tapes, PEF rods, expanding foams or silicones. Furthermore, the Smartfit® system reduces the risk of quality issues and damages that come with using additional materials in your install. Head flashing installation is a classic example of this. The thin gauge of a head flashing leaves it susceptible to dents and scratches when stored on site.
Smartfit® has increased benefits when installed over a Rigid Air Barrier. Once the windows and doors are fully installed, with glazing in the roof as well as the soffit, the building can obtain a pre-line inspection. This gives the advantage of cladding the outside, while lining the inside, resulting in significant build time savings.

Altus Window Systems Smartfit® windows are easy to install.
Before you start, keep in mind a few requirements for installing Smartfit®windows. They include: Special Requirements
- Windows and doors must be installed prior to any cladding fixing.
- Wall underlay's must be BRANZ appraised and be used within the limitations as stated by the manufacturer.
- Flashing tapes must be specified Smartfit® branded tapes as supplied by the joinery manufacturer.

These windows work for any room in the home.
Step 1: Preliminary Check of Trim Opening
First, you must ensure that the wall framing is at least flush, or protrudes over the floor edge, with 5mm nominal being ideal when installing full height units.
Timber Frame: Examine the trim opening for level, plumb, twist and squareness, as well as the outer window mounting surface to see if it has any protrusions or misaligned wood. The trimmer will have to be fixed in such a way to resist torsional loads from the weight of the installed window or door.
Concrete Slab: Check to ensure the concrete slab edge is smooth and has no ridges of any kind. If you notice anything that could affect the sealing, it will have to be taken care of before installation of the Smartfit® window or door.
Step 2: Wall Underlay Preparation
Once you have determined that the trim opening is appropriate for installation, prepare the wall underlay by cutting it at a 45-degree angle away from each corner, then fold the flaps tightly into the opening before securing it on all sides. Once it is affixed within the opening, you should trim off any excess material.
If you are installing with rigid air barriers (RAB), Smartfit® windows will still work, but you will have to change the reveal depth accordingly and adjust the length of the fixing screw. Furthermore, with use of a RAB, you will not have to sill tape the trim opening. Separation is still required between any exposed concrete and aluminium.
Meanwhile, you must leave an even mounting surface for the window or door when bracing the external sheet to wall framing. In this case, you may also have to run the sheet brace past the openings or stop far enough away from them to allow for fin fixing and taping.

Altus Window Systems Smartfit® windows can be used with many different sidings.
Step 3: Position Unit in Opening
To begin, you will simply position the Smartfit® unit into the opening you have created, then push the outer fixing flange hard against the framing. This will ensure the window is evenly seated and has no twist. In many instances, you will be able to shim the window somewhat if you need to eliminate twist or better position the window so that you can access a wall board groove or architrave. It's worth noting that with Smartfit®, it does not matter if there is a trim gap between the reveal and framing.
If you find you need to level the Smartfit® window, you should use full-depth rectangular packers to between the unit and framing and reveal, but if not, you can seat it. You should also measure diagonally to ensure it is square, and further pack the reveals if needed. It is easiest to fix one or two screws through the flange at opposite corners, then re-check it's positioning.
After that's done, you can fix off the unit (see below), making sure to remove any packers from the head reveal.
To speed up installation you can check and prep the openings before the windows and doors arrive on site. Then, once they arrive, unload them directly off the truck and into the holes. These can be tacked in place until you are ready for accurate positioning and fixing.
Step 4: Fix Off Unit
When fixing off the Smartfit® unit, make sure you are not doing so through any plastic parts. The fixing holes in the fin are all pre-machined. You will need 10Gx32mm stainless steel screws to meet fixing requirements here through the outer fin. Longer screws will be required for rigid air barrier installations.
The exact position of the holes for the screws will be optimised when the Smartfit® windows or doors are made, so that they can best fit the unit's size.
Specific fixing requirements are required for full height windows and doors into concrete and on enclosed decks. These make it possible to fix in difficult situations and to prevent the door sill rotating during everyday use. See the back pages of the Smartfit® Installation Guide for more information.
Whilst the reveal is not the primary point where you will attach the window or door to the building itself, appropriate fixing is recommended to minimise movement in the area. Flexible reveals result in finished paint joins cracking. An example of this is on the jambs of full height units such as sliding, stacking and hinged doors.

Altus Window Systems Smartfit® windows come in many shapes and sizes.
Step 5: Tape the Fixing Fin
Once the unit has been fixed off, the Smartfit® brand 60mm wide flashing tape is to be used. Tape must be fitted before fixing the cavity battens adjacent to the unit. It is important that the taping surface is clean of dust, dirt and grease. This will compromise the air seal being created. Half the tape's width should cover the fixing fin and the other half should go onto the wall underlay, with all fixings and unused screw holes covered by the tape, unless you're fixing the sill into concrete.
The taping method is as follows:
- Sill
- Jambs
- Head
The cut ends of the sill tape should then be covered by the tape you use for the jambs. The top of the jamb tape must also be covered in the same way as the sill, but by the head tape.
All taping should be press applied with either hand or a supplied plastic spatula.
For specific sill and head taping requirements for units installed hard to soffit or full height to concrete slab, see the back pages of the Smartfit® Installation Guide for more information.
Once that is all completed, it is permissible to fill the trim cavity between the window reveal and the house framing itself with insulation material.
Step 6: Fix Cavity Battens
When fixing the cavity battens, you should do so in compliance with all appropriate E2/AS1 requirements, or those from proprietary cladding system suppliers, as needed to suit the type of cladding you're working with.
It will be important to discuss the cladding type with your chosen windows fabricator prior to ordering the joinery so they can select the appropriate Smartfit® head profiles.
The cavity battens notch and run over both the head flashing fin and sill fixing fin, then onto the outer stud or as close to the window trim's opening as you can manage. It will be possible to have a reduced cavity batten right next to the window jamb on top of the fixing fin.
Step 7: Fit Cladding
There should not be an instance in which any cladding is fitted before the Smartfit®window installation itself is completed. Any sheet cladding products used will require joins to allow the cladding to be presented around the window after it is in position.
If working with masonry veneer, use the following steps:
- Trim the cavity end dam component to the back of the lintel angle, or bend around it.
- Apply sealant to any remaining to complete the end dam.
- Ensure the lintel angle does not bear loads on the plastic top hub of the window unit.
If you are working with weatherboard, there is no saw cut required to let the head flashing horns into the cladding, as they should instead run in front of the cladding face. The scriber cap on the units are loose, and run both fore and aft along a track in the top hub.
Once the weatherboards are installed, you should apply sealant between the cap and the face of the weatherboard before you push it home hard to the face.
Note the small hanger that comes out from beneath the scriber cap, this should simply rest on the face of the weatherboard. Upon finishing, the scriber will trap the hanger in position, but if it protrudes out the side of the scriber, it can be safely trimmed.
Finally, if working with flat sheet types, the cladding should go up and over the top hub of the unit with no more than two millimetres of side float, fitted only after window installation itself is completed. The cladding products will need joins around the window after it is in position. The head flashing horns should run in front of the cladding face.
Here too, you will not need a saw cut to let the horns into the cladding. Also as with weatherboard, the scriber cap is adjusted and sealed to the cladding.

Smartfit® windows provide a modern feel for any room.
Code Compliance
Altus Window Systems Smartfit® is a ready-fit window system that complies with the Building Code and has been tested according to Clause E2/VM1 rules, and carries BRANZ appraisal.
We recommend you are a professional Altus Window Systems installer when installing the Smartfit® system. In addition, it must be installed by or supervised by a Licensed Building Practitioner (LPB) with the relevant license class.
Using the Smartfit® system takes the difficulty out of window installation in a quick and easy fashion, providing full compliance with relevant legislation, minus the fuss and work that comes with a traditional model installation. For more information about the system and the many benefits it can provide for you on the job site, contact us today.
Our Partners